Vision applications on shiny parts are always the most challenging from an illumination standpoint. When setting up an application to inspect shiny surfaces, features or components, you must be very careful with the type of lights you use and the position of your lighting relative to your camera.
Three useful setups for illuminating shiny parts are as follows:
- LOW ANGLE OF INCIDENCE (Camera + Light on the same axis)
- DOME Lighting with the Modular Bar
- DARKFIELD Lighting with the Modular Bar
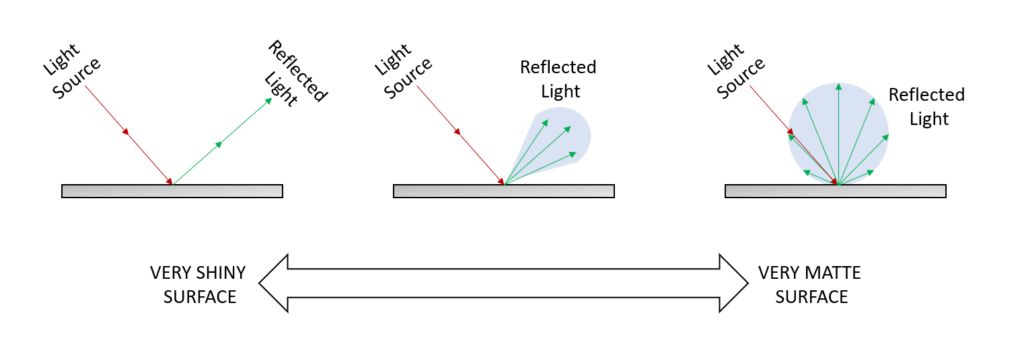
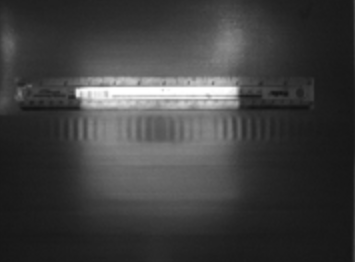
The graph above shows how the light is reflected depending on the surface. You can see this demonstrated in the images below, which show the difference when using a flat dome to illuminate a field of view with different materials. The 3 images have the same camera lens, working distance and illumination. The image on the left is a shiny plastic, the middle image is a mildly shiny conveyor belt material with a ruler on it and the image on the right is paper, which is a highly matte in appearance.
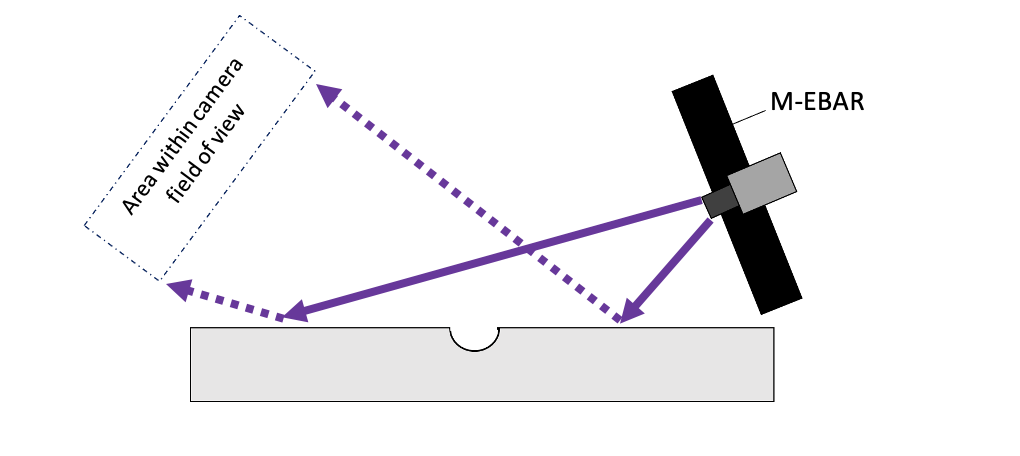
One of the most useful and easy ways to integrate methods for illuminating a shiny part from a distance is to have the camera and the light in almost the same optical axis and position them at an angle to the part that needs to be illuminated. By doing this, only the light that strikes the feature you want to see will be visible in the camera.
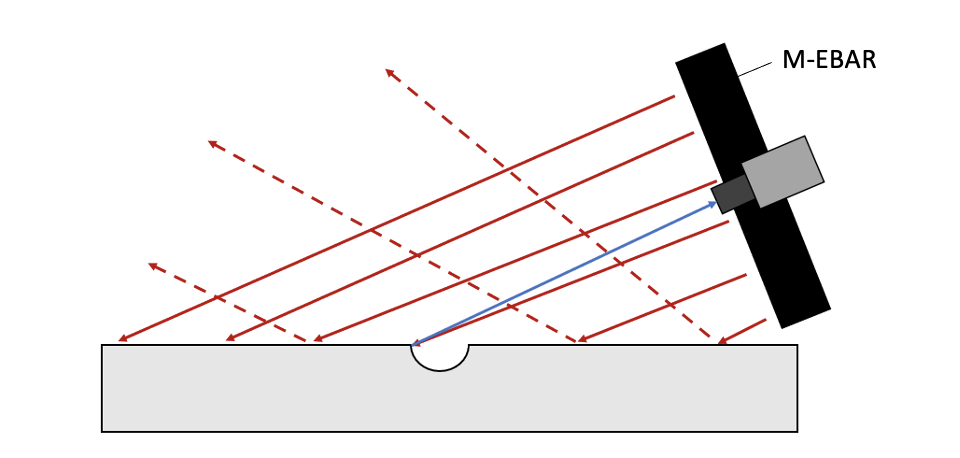
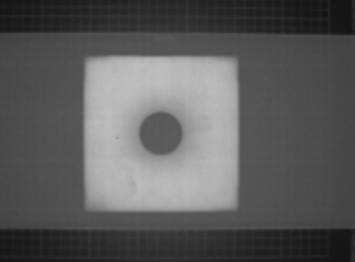
Below is an example of this with the Modular Bar (125mm) + AC-EBAR-M at a close working distance (300mm). As you can see, only the light that is going into any marks on the shiny metal surface comes back to the camera. The part shown is a mirror.
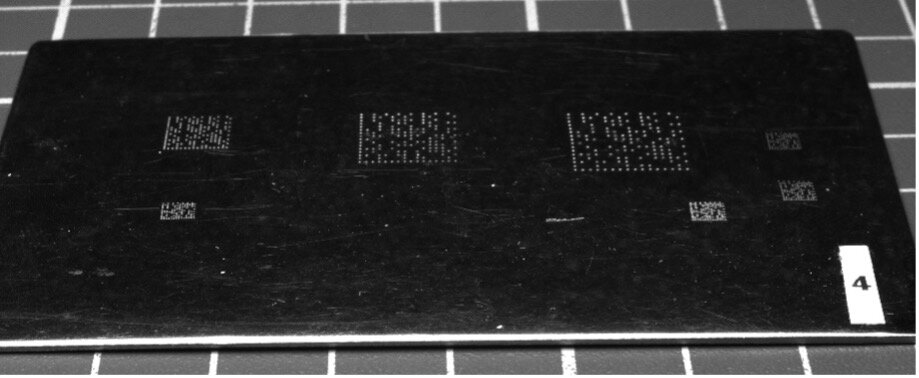
When using this method, it is critical to consider what is in the background when illuminating shiny parts. The camera will look through this part as if it is a mirror, the integrator must ensure that the mirrored view is safe from any obstructions, such as an operator with a high visibility vest. This means it would be best to have a shrouded system or ensure there is a black, light absorbing surface in the reflected FoV, as shown below.
